MCP and connectors
MCP and connectors connect AutoClaw to external apps, data sources, and services, so an Agent can do more than answer questions: within the permissions you authorize, it can read information, call tools, and get work done.
Connectors vs. MCP
Connectors are built-in, visual ways to connect, and usually only require you to sign in or authorize. MCP servers are better for connecting self-built or third-party tools, and require a server address, authentication details, or runtime configuration. Either way, they end up as tools the Agent can call.
Set up a connector
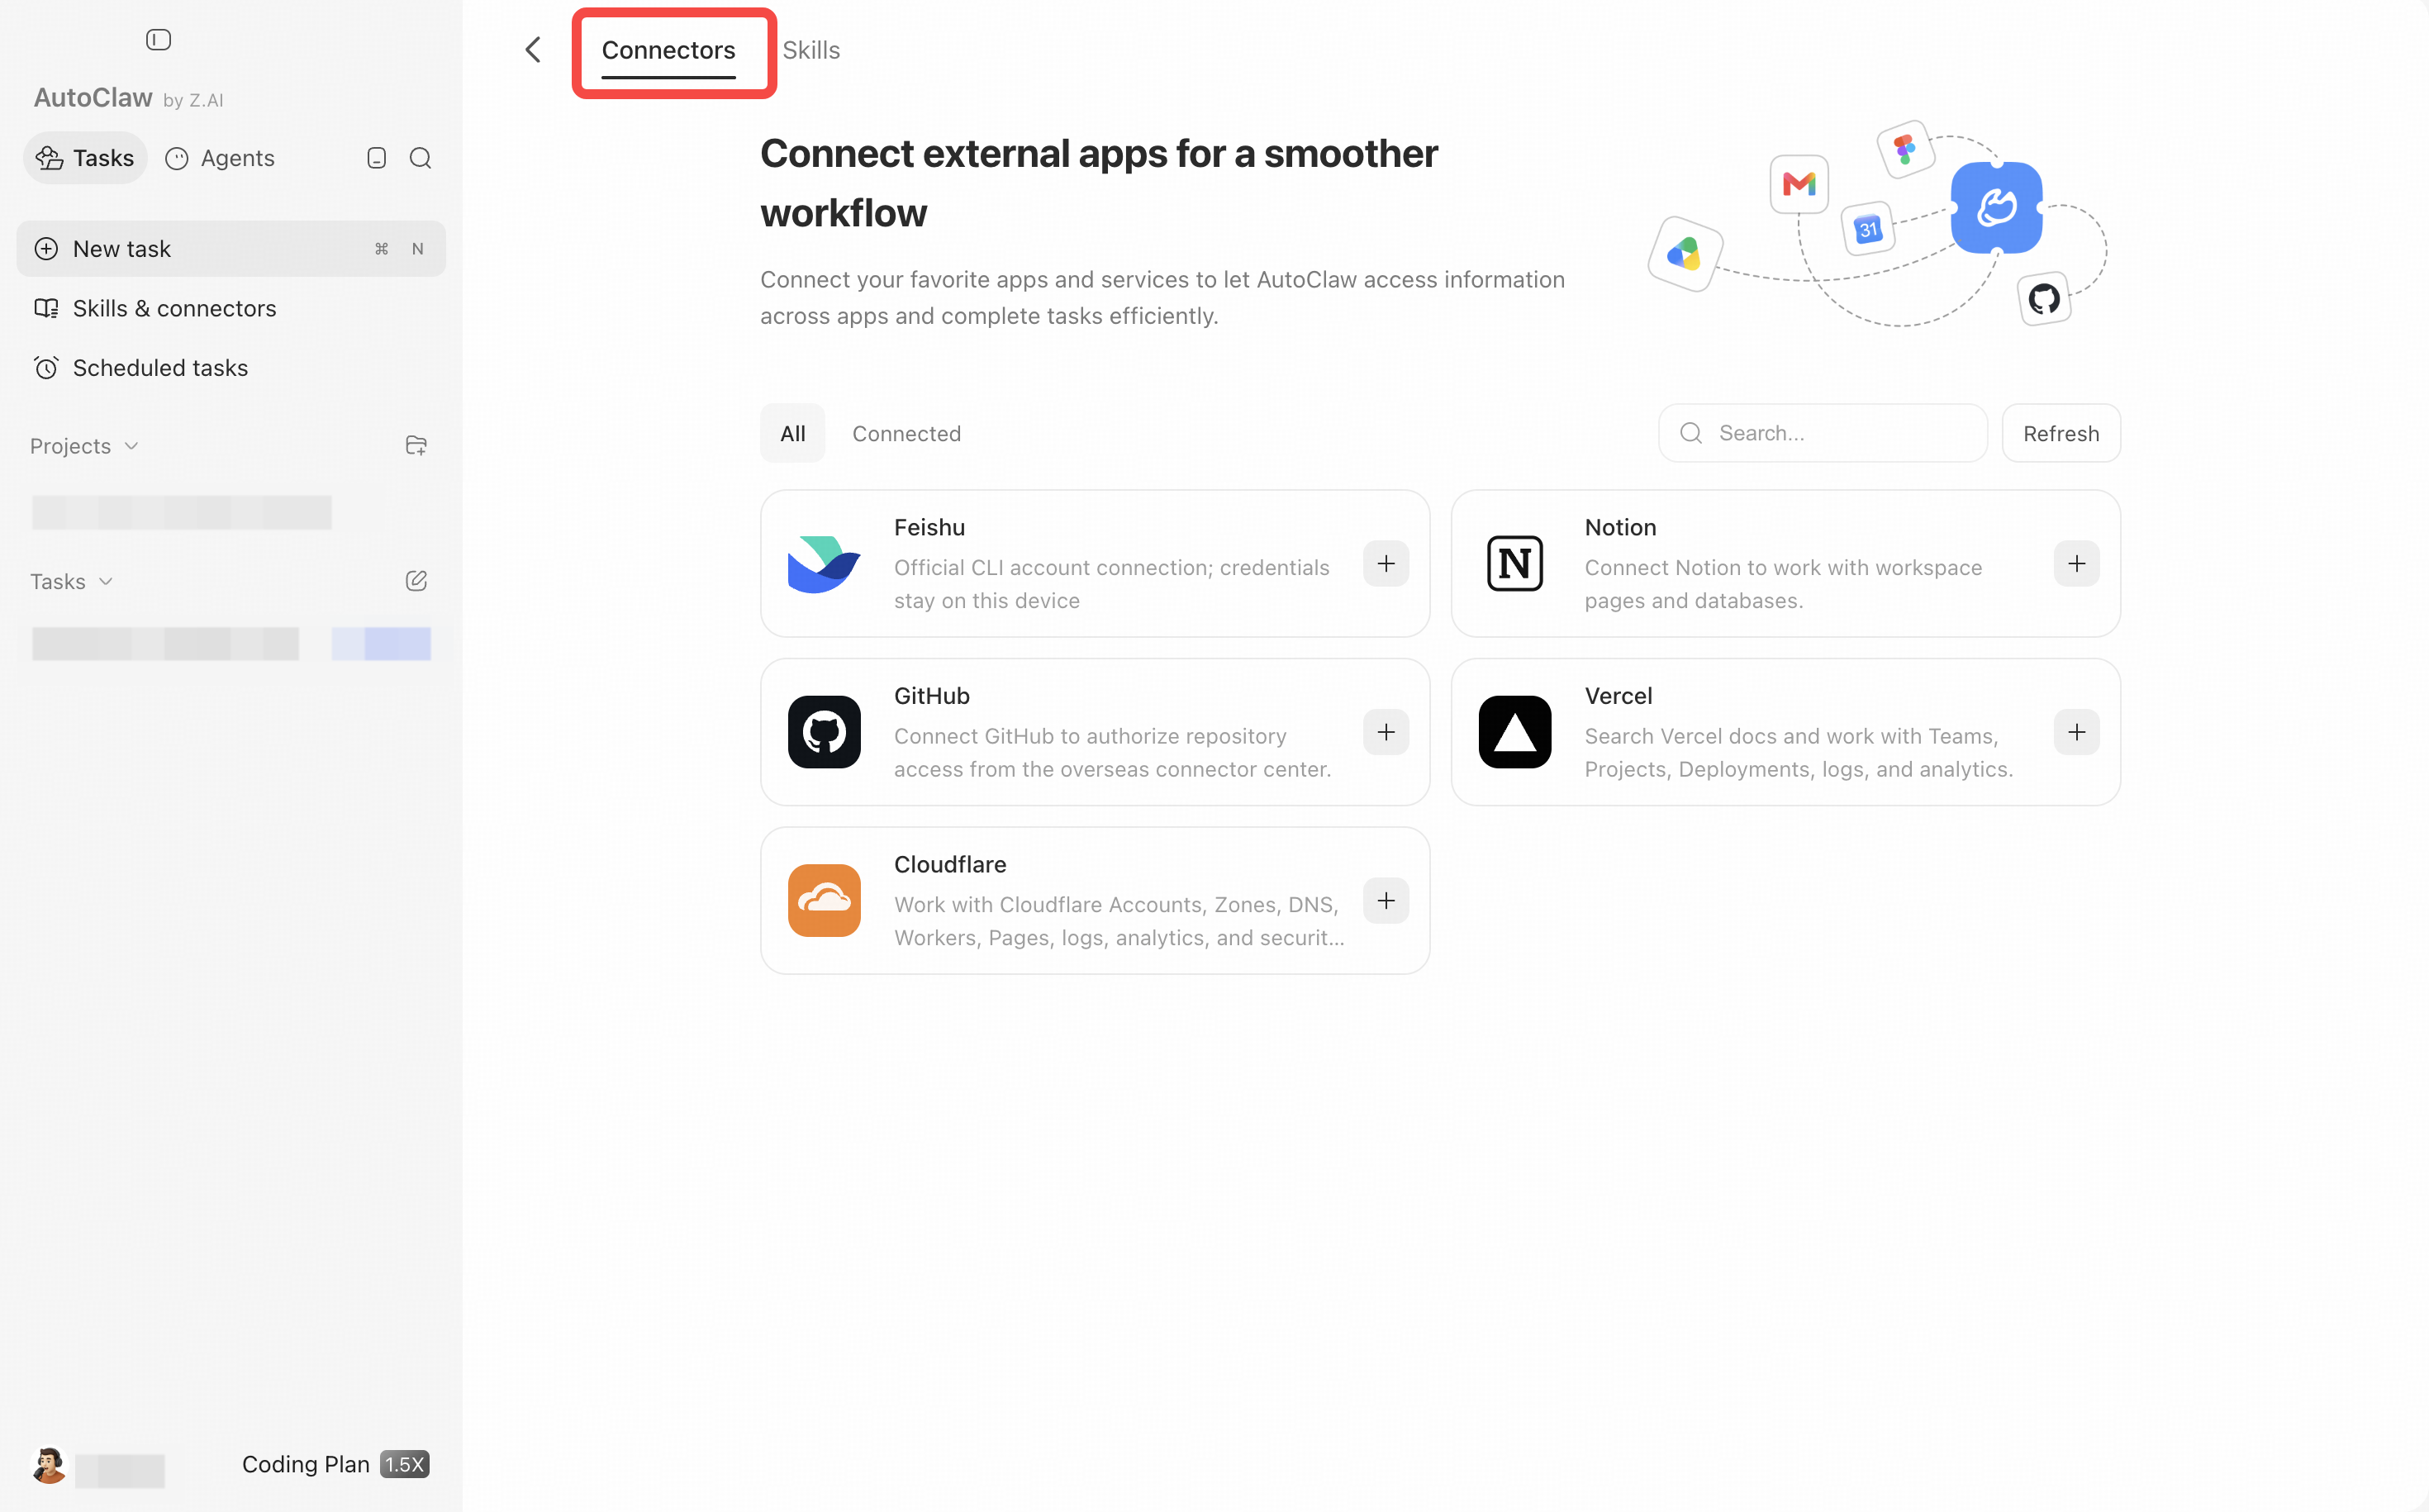
- On the home page, click "Skills & connectors" in the left sidebar to open the "Connectors" tab.
- The "Connected" area shows the connectors that are available now. In "All", find the service you want and click "+" on the right side of its card.
- Follow the on-screen prompts to sign in, authorize, or configure a key.
- Go back to the list and confirm the status is Connected, then run a read-only test in a conversation first, such as looking up a piece of public information.
Set up an MCP server
- Open Settings → Tools & connections, go to Extension tools (MCP), and click Add tool.
- Add a server and fill in its name, connection method, server address, and any required authentication settings.
- After saving, check the connection status.
- Test with minimum permissions. Once read operations work correctly, open up write access gradually.
Security tips
- Connect only trusted sources. Do not put keys, Tokens, or passwords in regular conversations or screenshots.
- Grant read-only and minimum-scope permissions first. For actions such as sending messages, changing data, or deleting files, keep manual confirmation in place.
- If a connection fails, check in order: your network, whether the authorization has expired, the server address, and the permission scope.
- Revoke authorization for connectors you no longer use, and revoke the keys on the original service as well.