Quick start (Design assistant)
🚀 Before you start using the Design assistant, first download and install AutoClaw and sign in to your account. See Getting started → Download and install. Download the desktop app from the AutoClaw website to use it.
Prepare your environment
| Item | Requirement |
|---|---|
| Installation | Desktop only. Download and install the AutoClaw desktop app |
| Model | We recommend GLM-5.3 or another capable model |
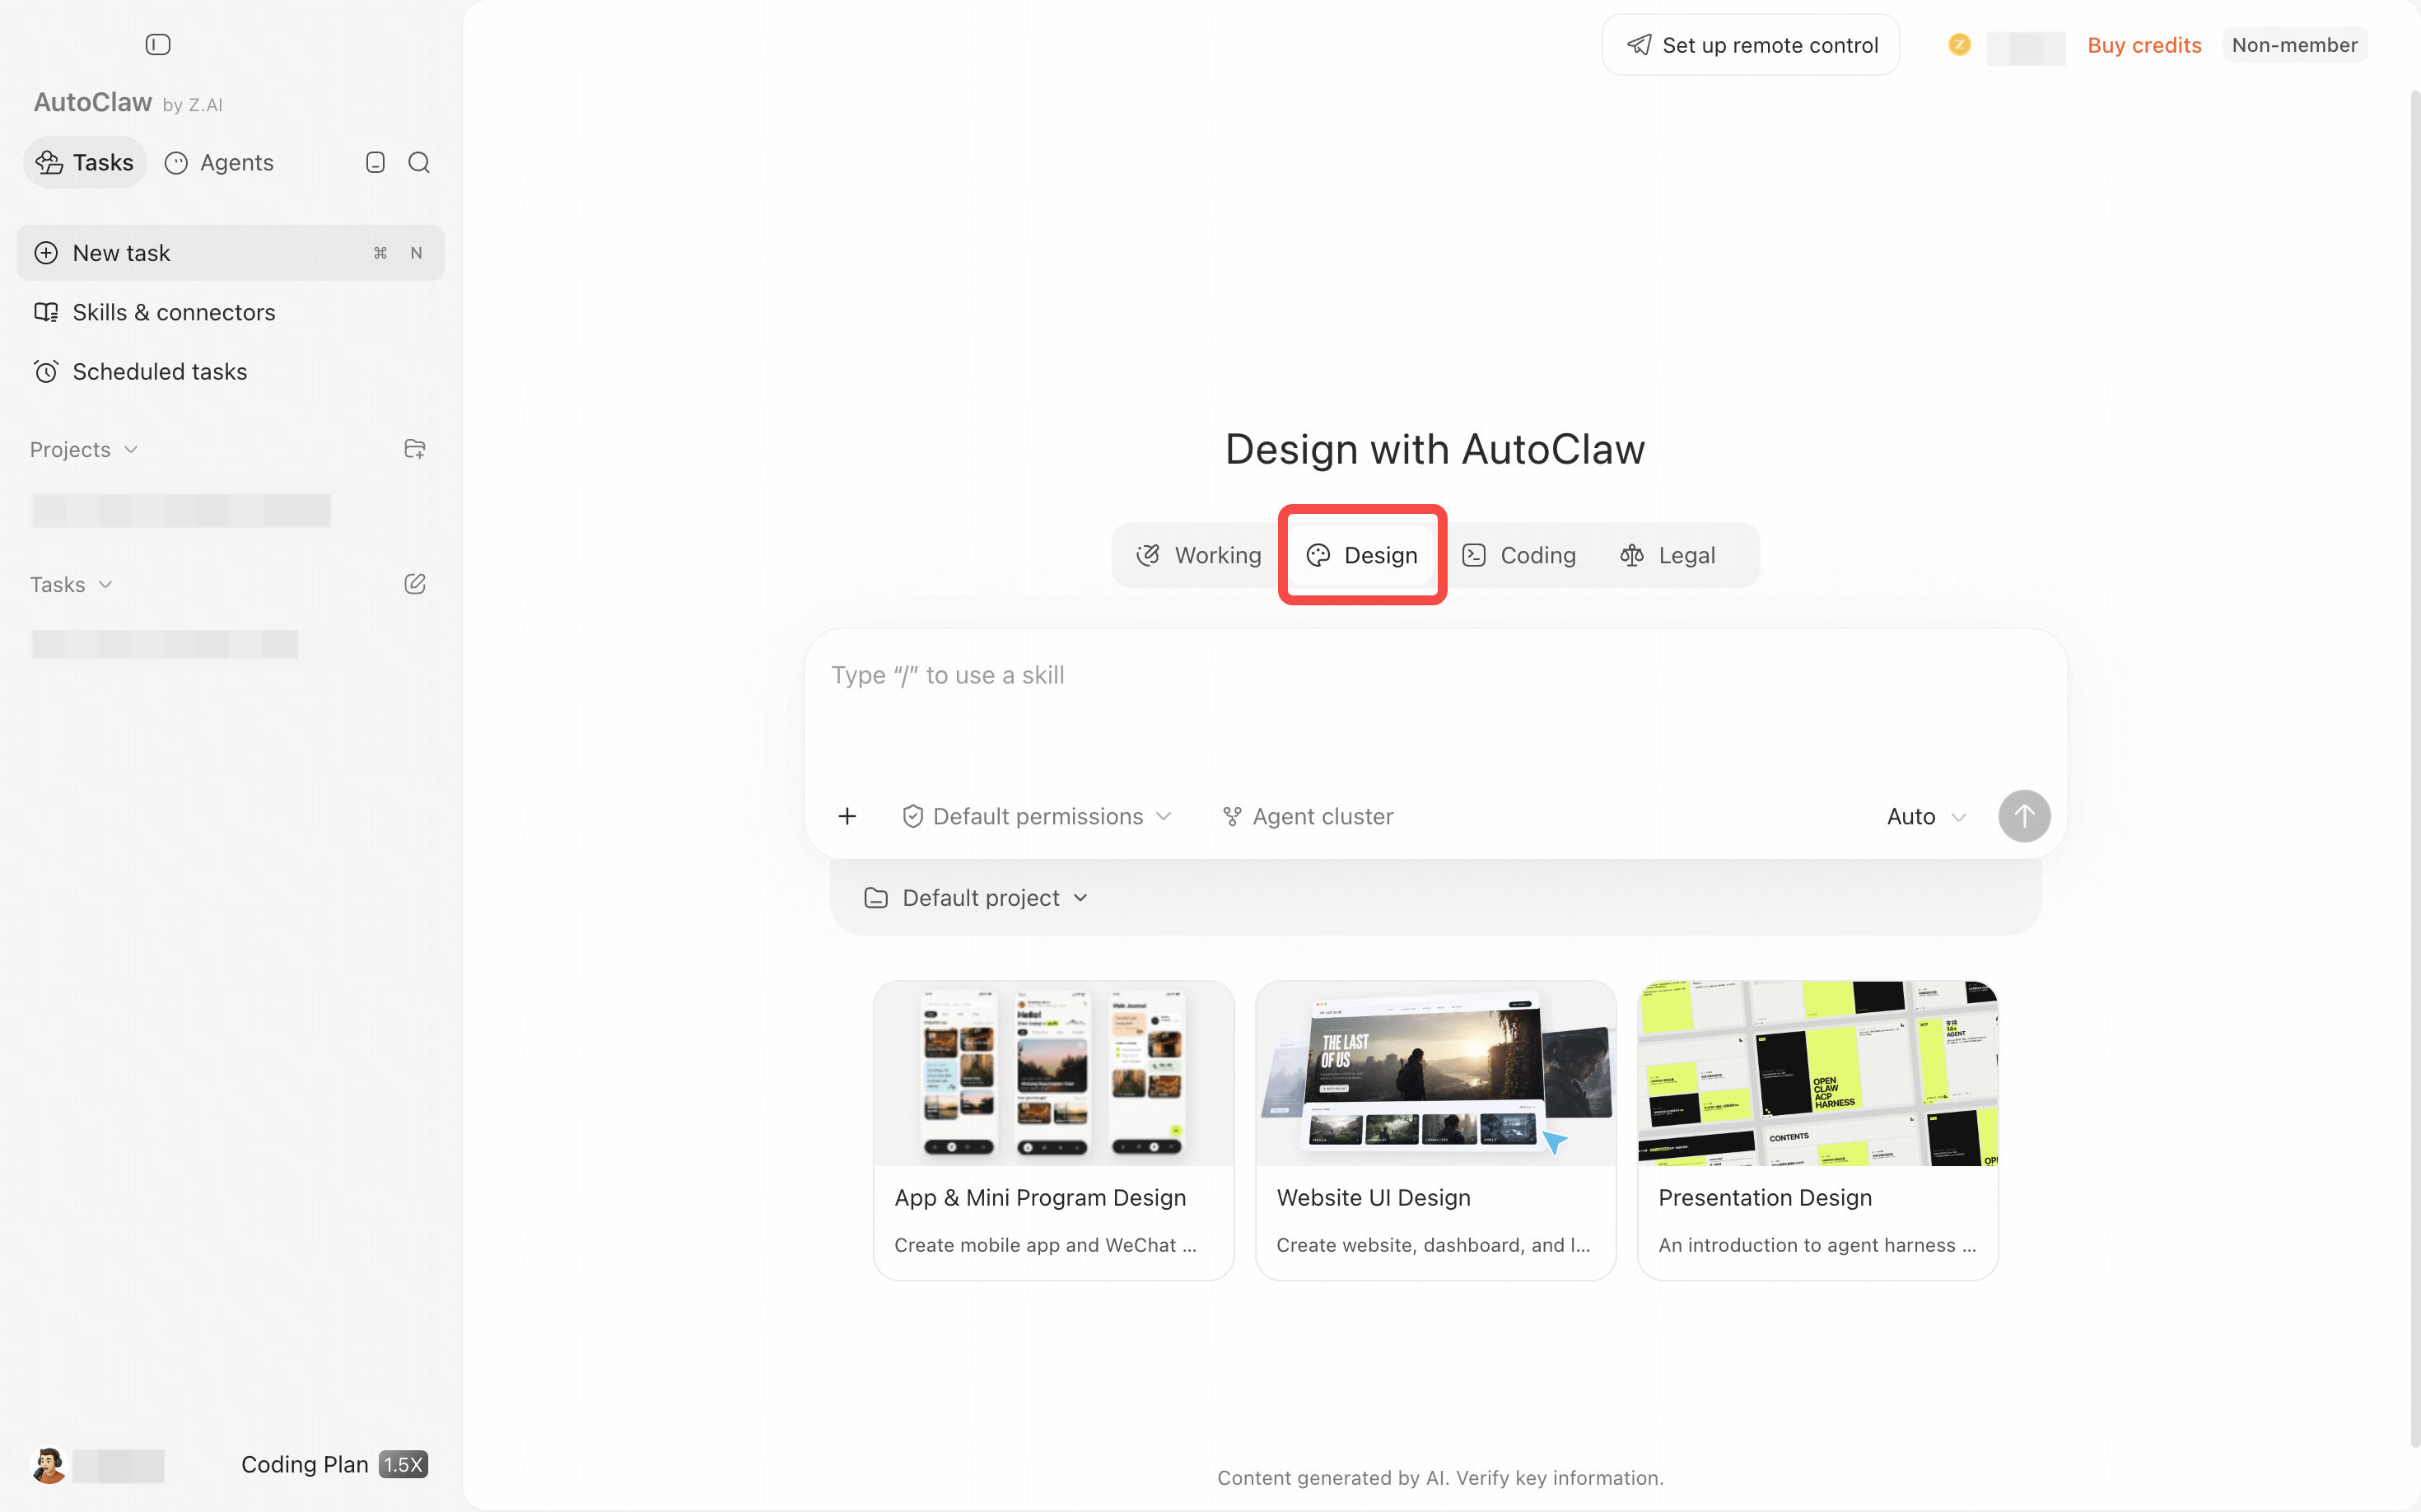
| Entry point | Open AutoClaw and select Design on the home page. |
Switch to the Design assistant
Open AutoClaw and select the Design assistant on the home page to enter.
Prepare your input materials
The closer your materials are to the real project, the more easily the results will follow your existing product system. You can start without all of them, but we recommend providing the information that best explains your constraints first.
| Material | Best for | Tips |
|---|---|---|
| Prompt / idea | Designing from scratch, small single-page tasks | Describe the platform, target users, page structure, and style direction |
| PRD | Multi-module, multi-page, or multi-state products | Upload a .md / .docx file directly and ask the Agent to break it down into modules and a page list first |
| Screenshot / draft | Visual references, optimizing existing pages | Mark the areas that must be kept and the areas to focus on changing |
| Figma | Recreating a design, adding new pages in the same style | Provide a design screenshot or a Figma MCP Link |
| Project code | Adding to or redesigning a real implementation | Let the Agent identify pages, routes, components, and design variables |
Task templates
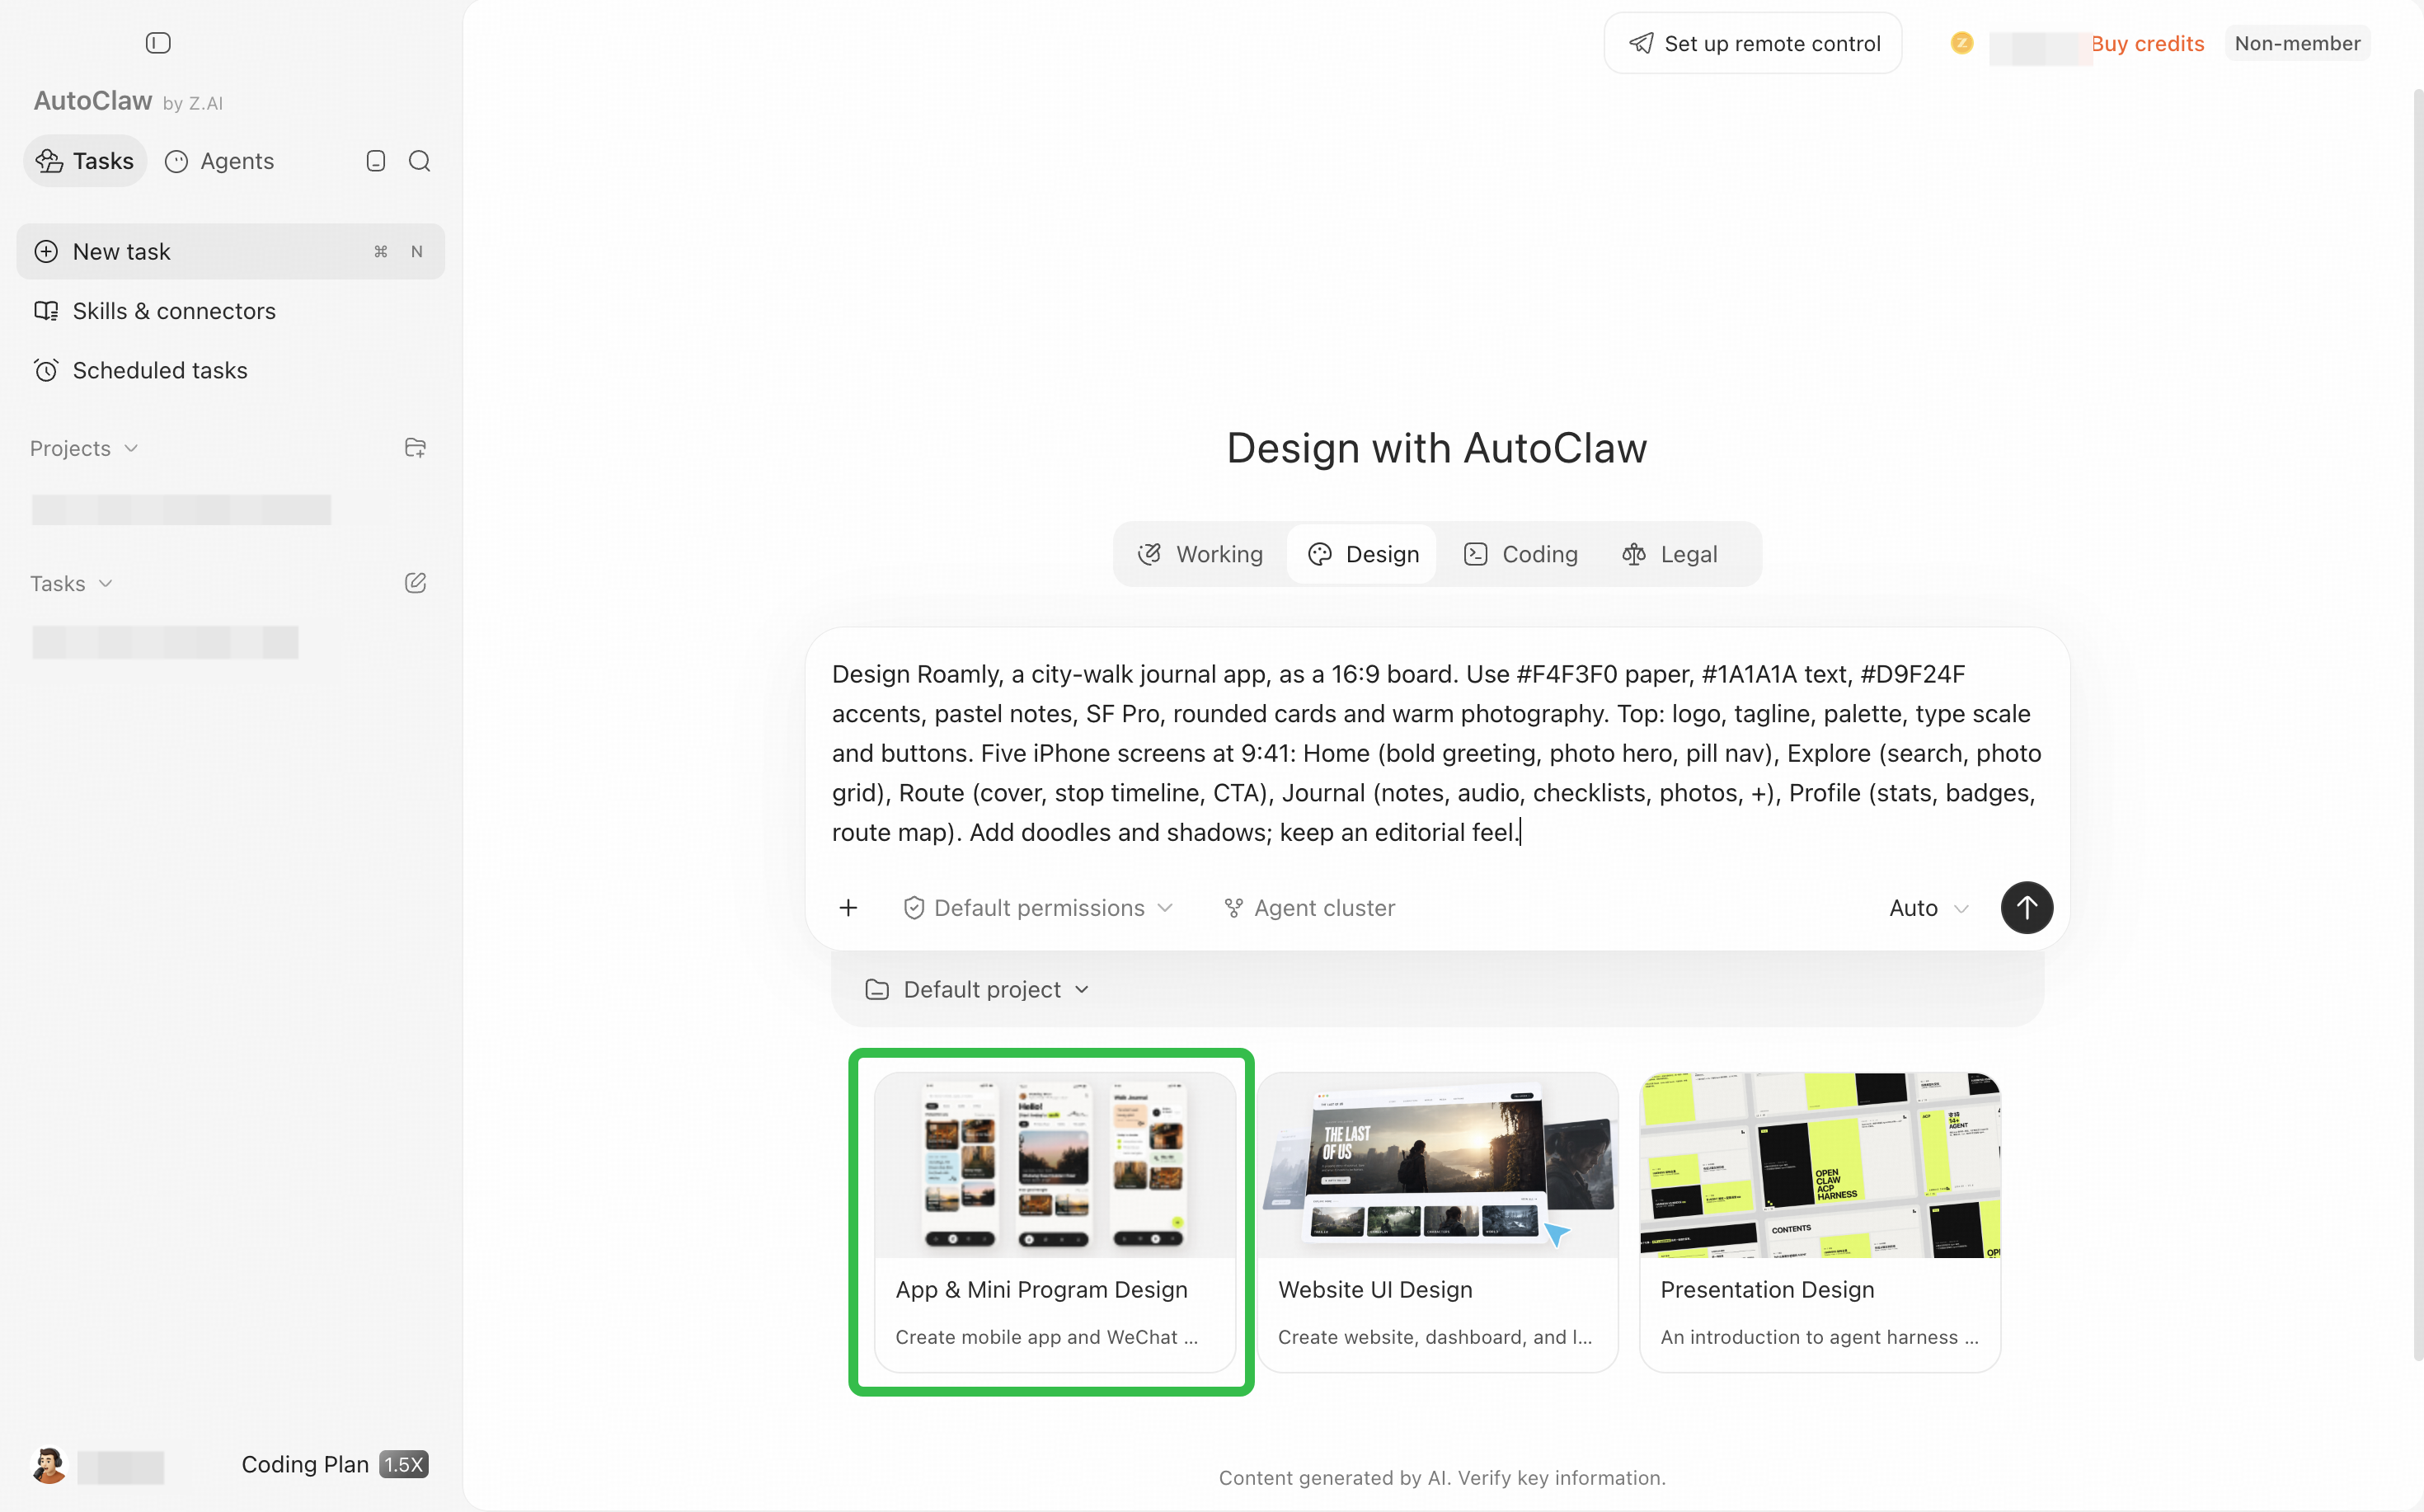
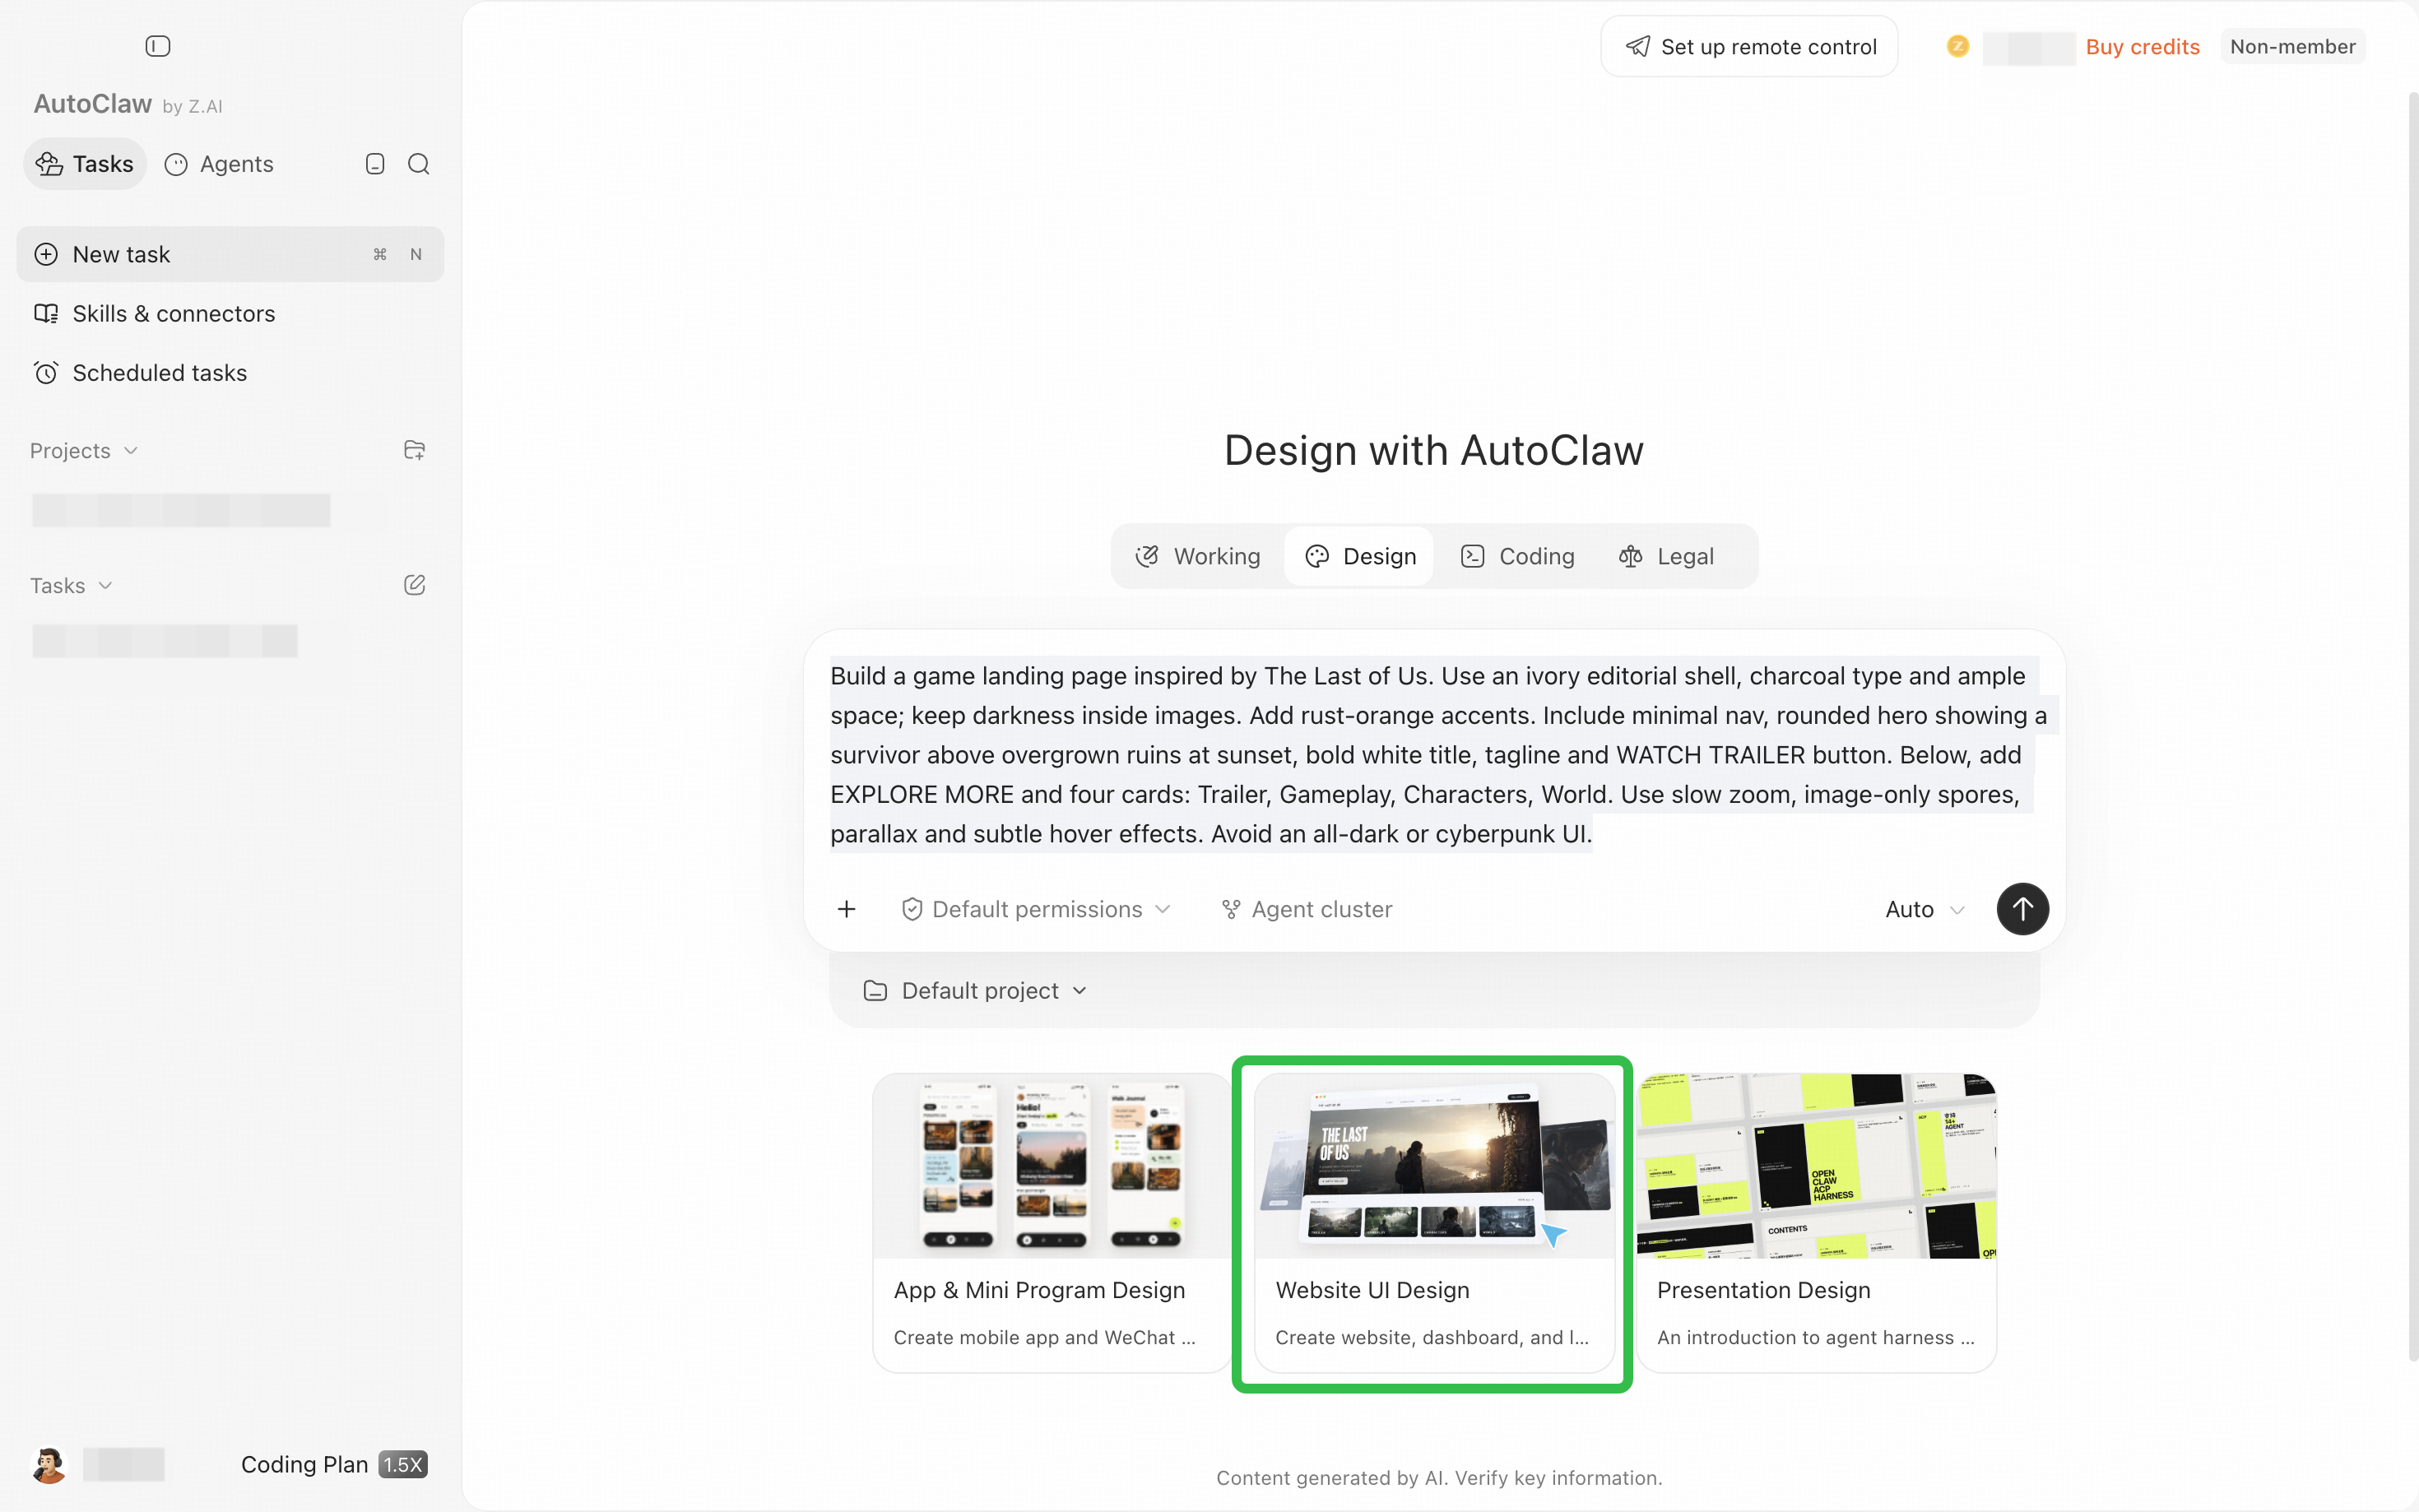
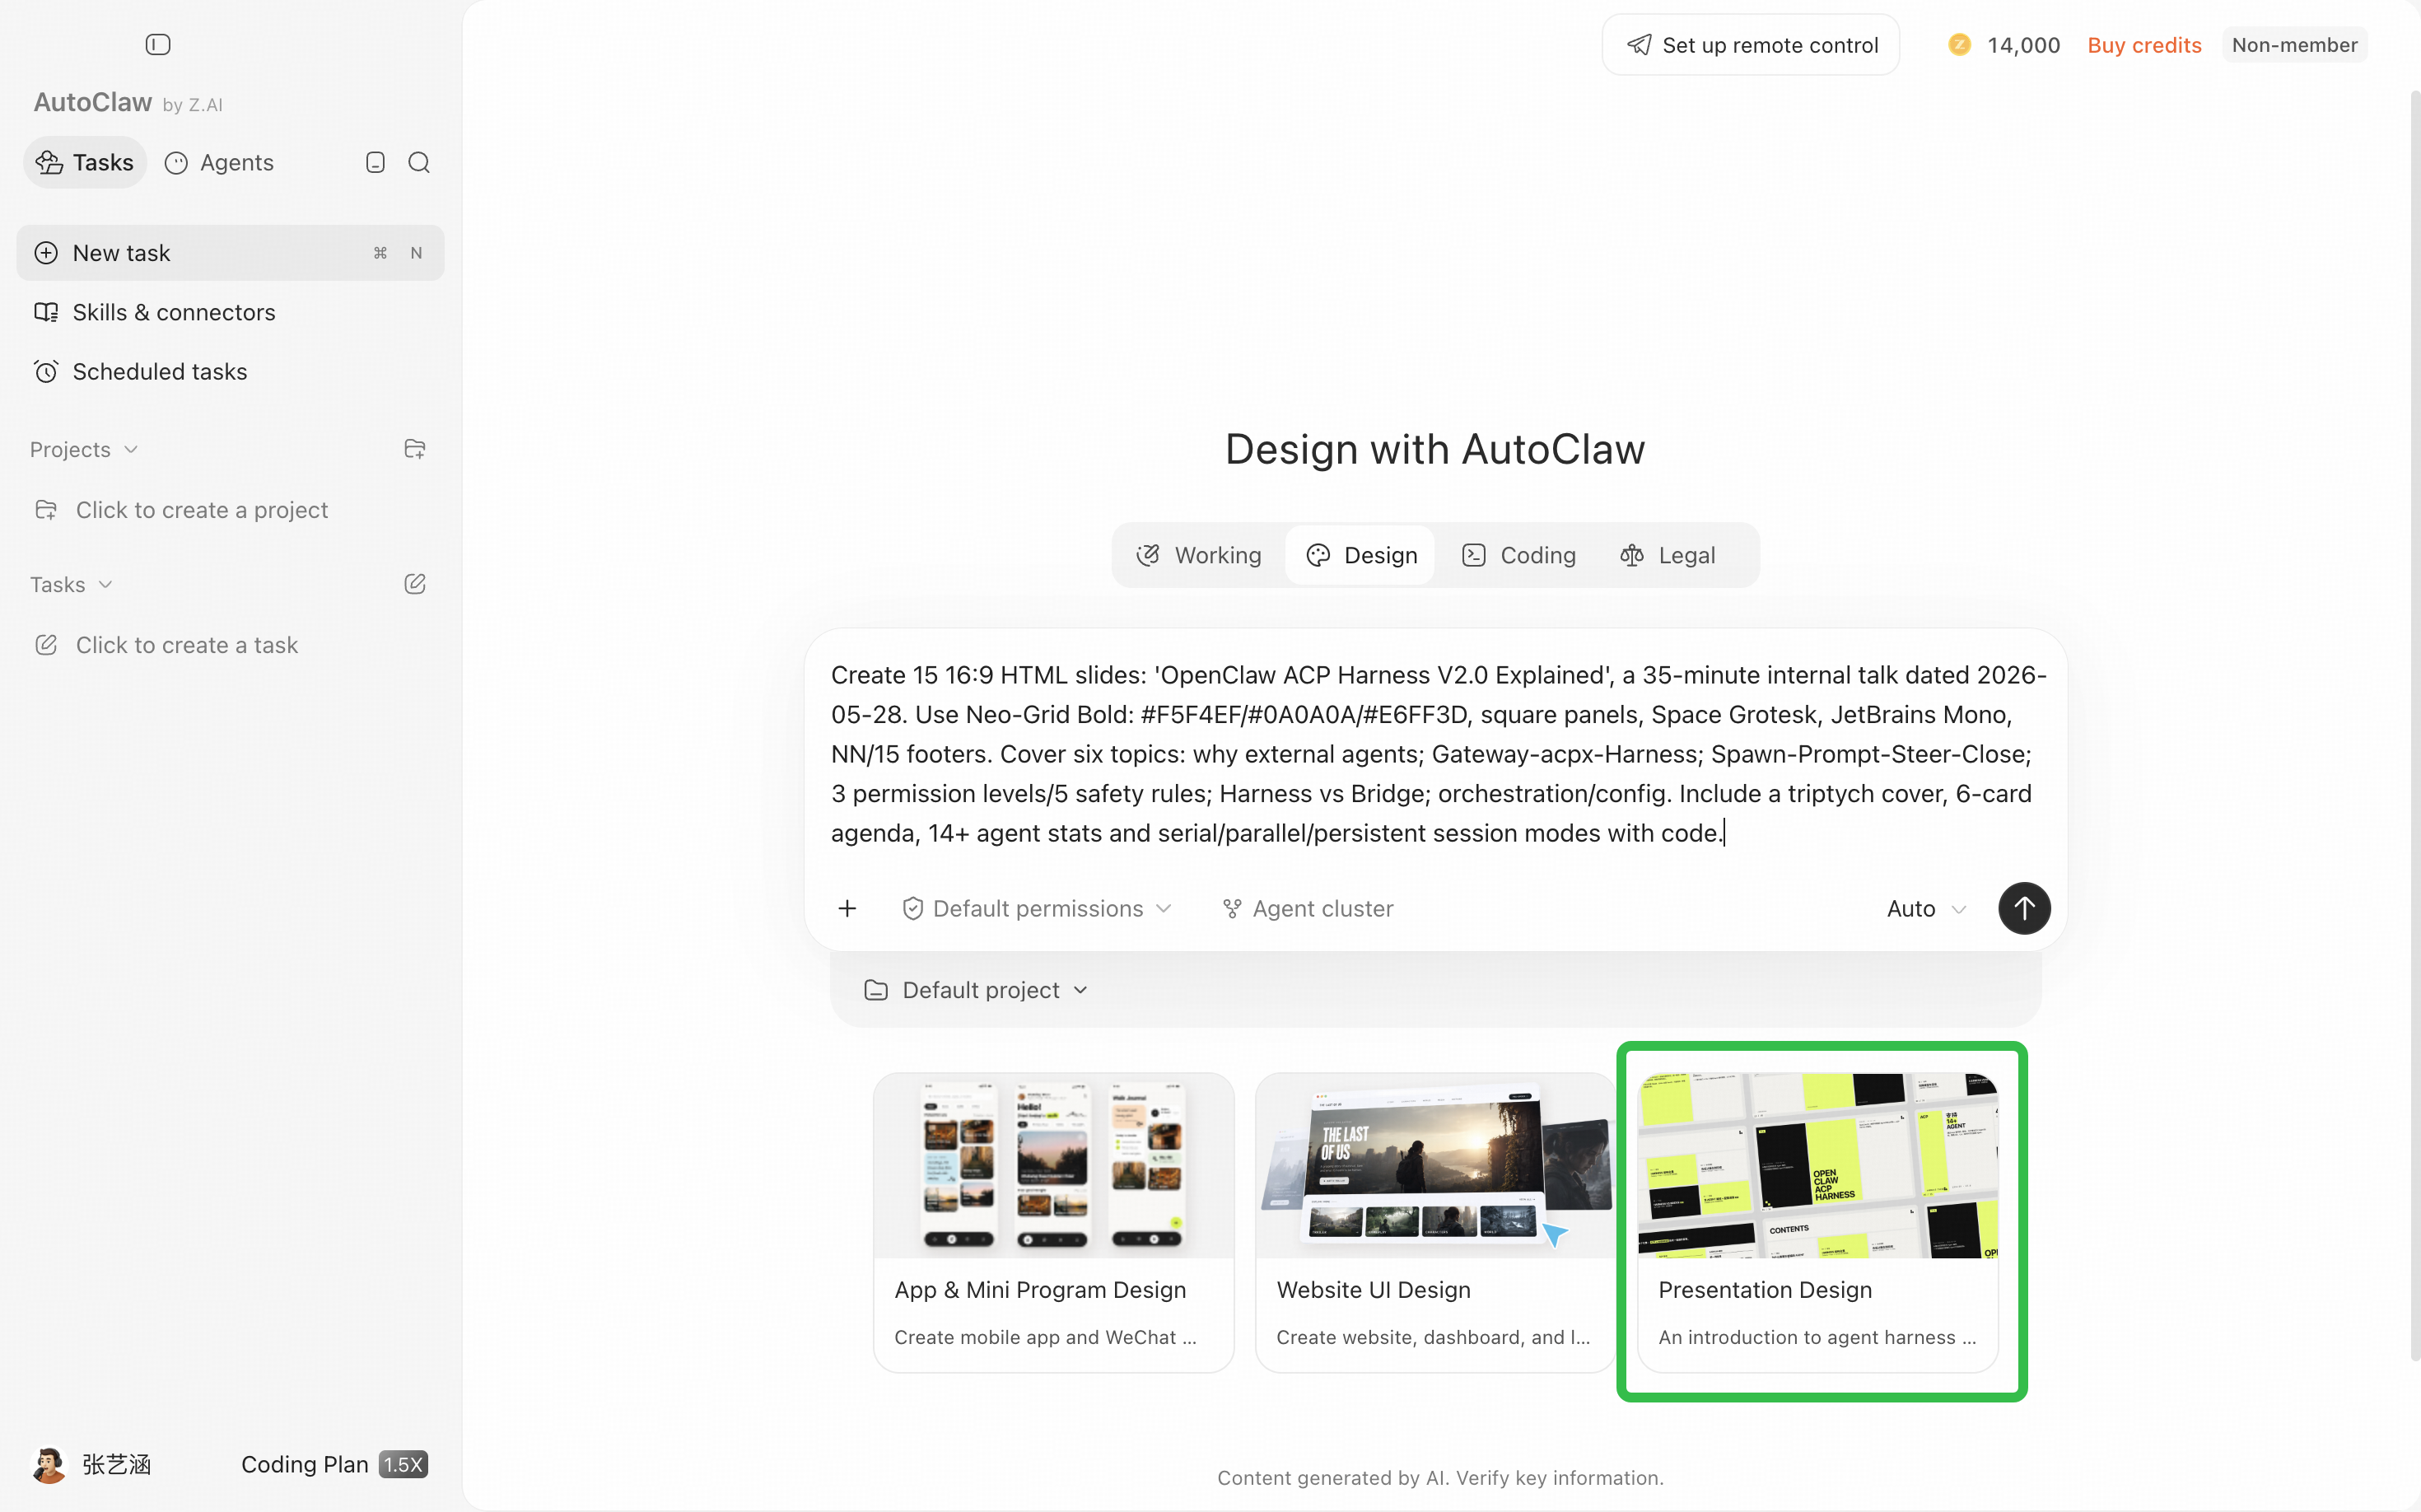
Below the Design assistant chat box, you'll find task templates such as App & Mini Program Design, Website UI Design, and Presentation Design. Choose the template that fits your task.
Send your first task
In the chat box, clearly describe the task, platform, existing materials, style direction, and delivery format, then click Send.
Review the result and keep refining
The Design assistant generates the design in the current task and shows it in the preview panel. First confirm that the structure and direction work, then refine item by item. For a complex PRD, we recommend confirming that the modules, pages, and states are complete before judging the visual result.
Recommended workflow
Define the task → Provide materials → Set boundaries → Generate the first version → Refine precisely → Preview and export
| Step | What you do | Key notes | Done when |
|---|---|---|---|
| 1 | Define the task | State whether you want a new design or to improve an existing one, plus the platform, audience, and business goals | The task scope is clear |
| 2 | Provide materials | Upload a PRD, screenshots, Figma files, drafts, or code instead of relying on abstract adjectives | The Agent has the necessary context |
| 3 | Set boundaries | State the content, brand elements, and business logic that must be kept; for a redesign, choose polish, restructure, or full redesign | The scope of changes is under control |
| 4 | Generate the first version | For a complex PRD, confirm that the modules, pages, and states are complete before judging the visuals | The structure and direction work |
| 5 | Refine precisely | Describe the change you want in the chat, and the Design assistant updates the design | Key details meet your requirements |
| 6 | Preview and export | Check different devices and page states, then choose a suitable format for delivery | The file is ready for review or handoff |